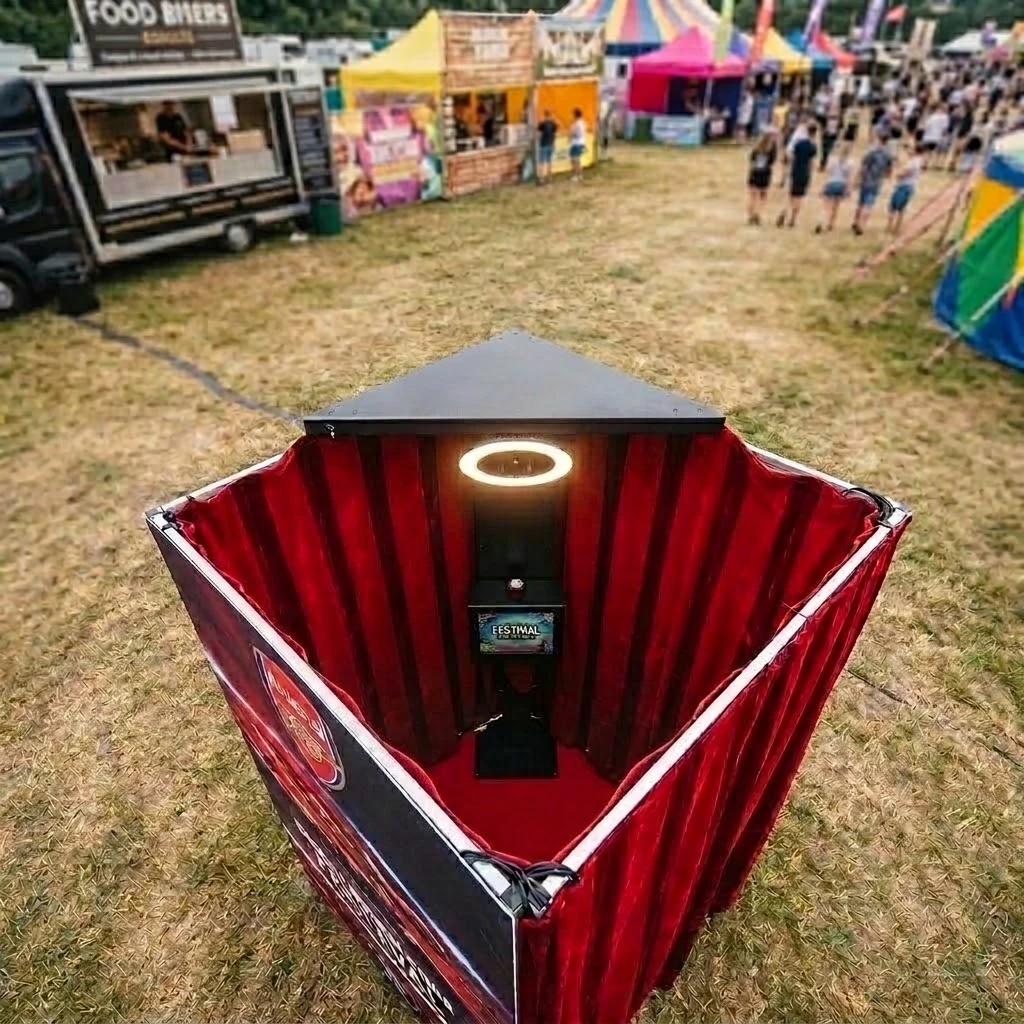
An overhead photo booth shoots straight down at guests from a rigged or mounted camera position, a format the pillar’s Ultimate Guide to Professional Photo Booths only mentions briefly, but one that’s become a genuine niche opportunity for festival and brand-activation operators. The birds-eye perspective produces a distinctive, highly shareable image that standing-height booths simply can’t replicate.
Why Festival & Brand Operators Are Adding Overhead Booths
A high angle booth stands out precisely because so few local competitors offer it. For operators already running iPad, DSLR, or 360 setups, adding an overhead option is often the fastest way to differentiate at a festival or large-scale activation.
- Genuinely novel to most guests – Unlike standard booths, most attendees have never experienced a birds-eye view photo booth, which drives spontaneous social sharing.
- Ideal for large groups – An overhead shot captures group formations, dance floor moments, and choreographed poses that a standing camera physically cannot frame.
- Low local competition – Because the rigging requirements deter most operators, pricing power stays high in most markets.
How a Top-Down Photo Booth Actually Works
A top-down photo booth mounts a camera on a truss, rig, or fixed overhead structure pointed straight down at a marked floor area where guests pose. The core mechanics differ meaningfully from a standing booth.
Rigging Height & Mounting Options
- Truss-mounted rigs: The most common commercial option, a lighting truss or overhead structure with a secured camera mount, typically 12–20 feet above the floor.
- Venue ceiling mounts: Used when a venue has existing rigging points; requires coordination with venue staff and a rigging-certified installer.
- Portable overhead arms: A freestanding boom arm anchored to a weighted base, the most flexible option for festival and outdoor use where permanent rigging isn’t possible.
Camera Angle & Lens Considerations
- Wide-angle lens: Necessary to capture a full group from directly overhead without an impractically high mount, 16–24mm is typical.
- Remote trigger or tethered control: Since the camera is out of reach during the event, remote shutter control or full tethering is essential, not optional.
- Floor markings: A marked circle or square on the ground helps guests position themselves correctly within the frame without operator guidance for every shot.
Best Use Cases: Festivals, Trade Shows & Product Launches
An overhead booth performs best in settings with the floor space and audience density to make the birds-eye format visually compelling.
- Music festivals: Large group shots and crowd-formation moments are the format’s strongest use case, especially paired with branded floor decals.
- Trade show booths: An overhead activation draws foot traffic from across a convention floor purely through visual curiosity.
- Product launches: Brands often use the overhead format to create a branded “hero shot” moment that’s distinct from every other booth at the event.
💡 Positioning Tip
The overhead format loses impact in small, low-ceiling venues, reserve it for events with at least 15–20 feet of clear overhead space and enough floor area for group shots.
Pricing an Overhead Booth for Corporate & Festival Clients
Because rigging requirements limit local competition, overhead booths typically command rates closer to 360 booth pricing than standard iPad or DSLR setups.
| Package | Duration | Typical Rate |
|---|---|---|
| Festival Activation | Full Day | $2,000–$4,000 |
| Corporate Brand Launch | 4–6 Hours | $2,500–$5,000 |
| Trade Show Multi-Day | Per Day | $1,800–$3,500/day |
Rigging and installation time should be quoted separately from the event rate itself, most operators charge a flat setup fee to cover the additional labor and equipment coordination overhead formats require.
Safety & Rigging Requirements
Unlike standing booths, overhead setups involve equipment suspended above guests, this introduces liability considerations that other booth types don’t carry.
- Use rated rigging hardware – All mounting hardware should carry a documented weight rating well above the combined weight of your camera and mount.
- Add a secondary safety cable – Every overhead-mounted camera should have an independent safety line in addition to its primary mount, in case the primary point fails.
- Confirm venue rigging policies in advance – Many venues require a certified rigger for any overhead installation, confirm this before quoting a client.
- Carry adequate liability insurance – Standard photo booth insurance may not automatically cover overhead rigging, confirm with your provider before your first booking.
⚠️ Non-Negotiable
Never rig an overhead camera without a secondary safety cable, regardless of how secure the primary mount appears. A dropped camera over a crowd is a liability risk that isn’t worth the shortcut.