![[HERO] Quick Tip: The](https://cdn.marblism.com/36DjMQKvxcu.webp)
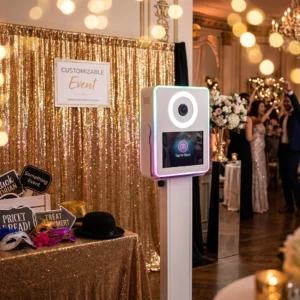
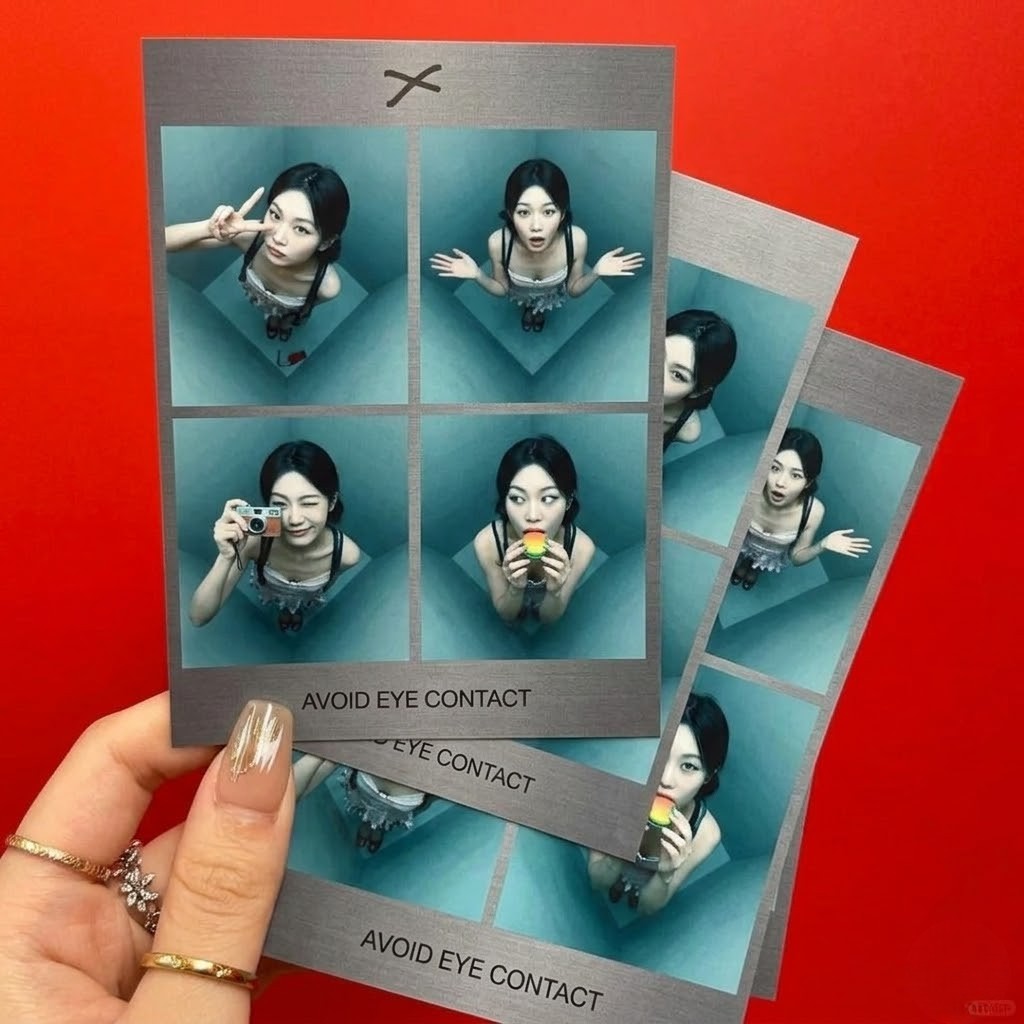
High-angle photo booths, often referred to as “Birds Eye View” or “Top-Down” booths, are currently dominating the event industry. From high-end fashion galas to weddings, guests are obsessed with the editorial, magazine-style look these units produce. However, achieving that perfectly centered, professional shot every single time is harder than it looks. When the camera is mounted several feet above the guests’ heads, traditional spatial awareness goes out the window. Guests frequently stand too far forward, too far back, or off to the side, resulting in cropped limbs or awkward compositions.
To solve this, we use a simple, low-tech solution: The “X Marks the Spot” floor hack. By placing a physical marker on the floor, you remove the guesswork for your guests and ensure every photo looks like it belongs on the cover of a fashion magazine.
Why High-Angle Positioning Is Difficult
In a standard photo booth setup, the camera is at eye level. Guests naturally know where to stand because they are looking directly at a lens or a screen. In a high-angle setup, like the ones you can find in our shop, the camera is positioned high above the floor, pointing downward at a steep angle.
When guests enter the booth area, they usually look for the camera. Because it is above them, they often overcompensate by stepping too far back to “get in view,” or they stay too close to the stand, leaving a massive empty space at the bottom of the frame. This forces your booth attendant to constantly give verbal instructions, which slows down the line and can feel intrusive to the guest experience.
The Solution: A Simple Floor Marker
The “X Marks the Spot” hack involves placing a small, unobtrusive marker on the floor exactly where the guests need to stand to be perfectly centered in the frame. This marker serves as a silent guide. Most guests will instinctively stand on or near a mark on the floor without being told.
You have two primary options for creating this marker: gaffer tape or a branded floor mat.
Option 1: Gaffer Tape
Gaffer tape is the industry standard for event professionals. Unlike duct tape, it does not leave a sticky residue on the venue’s floor, which is crucial for maintaining good relationships with venue managers.
To implement this, find the “sweet spot” during your setup. Check your live view or take a few test shots to find the exact center of the frame on the floor. Use two small strips of brightly colored gaffer tape (neon green, pink, or orange work well) to create a small “X.” This “X” should be large enough to be seen but small enough that it doesn’t distract from the overall aesthetic of the photo.
Option 2: Branded Floor Mats
If you want to look more professional and add a layer of branding to your activation, consider a custom floor mat. A circular or rectangular mat with your logo in the center serves the same purpose as the tape but looks intentional. You can design the mat so that your logo is the “X.” Tell guests to “stand on the logo,” and you’ve immediately solved your positioning problem while reinforcing your brand.
Benefits of Using a Floor Marker
Implementing this hack offers several immediate benefits for your photo booth business:
- Consistency: Every photo in the gallery will have a consistent composition. This makes your post-event delivery look much more professional.
- Increased Throughput: When guests know exactly where to stand, the process moves faster. You can get more people through the booth per hour, which is a key metric for event success.
- Reduced Attendant Fatigue: Your staff won’t have to spend the entire night shouting “step back” or “move left.” They can focus on engaging with the guests and ensuring the equipment is running smoothly.
- Better “Gram-Worthy” Shots: High-angle shots are all about the aesthetic. If the guest is off-center, the “cool” factor of the high angle is lost. The “X” ensures they get the best possible version of the trend.
Technical Setup: Finding the Sweet Spot
Finding the correct placement for your “X” requires a bit of testing during your pre-event setup.
First, assemble your high-angle booth, such as the ATA Birds Eye View. Once the camera is mounted and angled, open your software’s live preview. Have an assistant stand in the booth area and move them around until they are perfectly centered.
Pay attention to the “safe zones” of your template. If you are using a square or 4×6 layout, the center point might shift slightly depending on how you’ve cropped the feed. Once the person is perfectly centered, mark the spot between their feet.

Advanced Posing with the Floor Hack
The “X” doesn’t just help with centering; it also helps with posing. For high-angle shots, the most flattering poses often involve looking directly up at the lens or sprawling out slightly on the floor.
By having a designated spot, you can give clearer instructions. For example, “Put your heels on the X and look up,” or “Sit down with the X right behind you.” This level of precision allows you to create high-end editorial content that sets you apart from competitors. If you are looking to scale your business with these types of advanced techniques, check out our guide on starting a photo booth business.
Maintenance and Logistics
While this is a “quick tip,” there are a few logistical things to keep in mind:
- Check the Tape: Throughout the night, guests will step on, scuff, and potentially peel up the tape. Have your attendant check the “X” every 30 minutes to ensure it’s still visible and secure.
- Color Choice: Choose a tape color that contrasts with the floor. If the venue has dark wood floors, use white or neon tape. If it’s a bright white gallery floor, use black or red.
- Branded Mats: If using a mat, ensure it has a non-slip backing. High-angle booths often involve guests moving quickly or striking dynamic poses; a sliding mat is a safety hazard.
Impact on Your Business Growth
Small details like the “X Marks the Spot” hack contribute to the overall perceived value of your service. When clients see that you have a system for ensuring perfect photos, they are more likely to leave positive reviews and refer you to others.
This hack is particularly useful for those using premium equipment like the Lumia M Pro or specialized Glambot setups where positioning is everything. It shows a level of expertise that justifies higher rental rates.
Troubleshooting Common Issues
Even with an “X” on the floor, you might run into a few hurdles:
- Large Groups: If a group of five people enters a high-angle booth, the “X” can get lost. In this case, the “X” should represent the center of the group. Instruct the “leader” of the group to stand on the X, and have the others fill in around them.
- Shiny Floors: Some high-end venues have polished marble or mirrored floors. Tape might not stick well, or it might be too reflective. In these cases, a thin, heavy-duty rubber-backed mat is the only viable option.
- Lighting Shadows: Ensure your lighting setup doesn’t cast a harsh shadow over the “X,” making it hard for guests to see as they approach the booth.
Conclusion
The “X Marks the Spot” hack is a prime example of how a simple, inexpensive tool can solve a complex technical problem. By taking thirty seconds during setup to place a piece of tape or a branded mat, you guarantee better photos, happier guests, and a smoother workflow for your team.
For more tips on how to optimize your event experience, visit our business tips tag. If you have questions about which high-angle equipment is right for your fleet, feel free to contact us directly.
Whether you are just getting started with a booth or you are a seasoned pro looking to refine your high-angle offerings, consistency is the key to longevity in this industry. Use the “X,” nail the shot, and keep your clients coming back for more.